Most british tenants know that end of tenancy cleaning is no small feat. Over 60 percent of renters risk losing part of their deposit due to missed details during property handover. With strict landlord expectations and detailed inventory checks, a rushed approach can cost you dearly. This guide unpacks a clear step by step cleaning workflow so you cover every corner with confidence, from thorough planning to the final inspection, increasing your chances of a full deposit refund.
Table of Contents
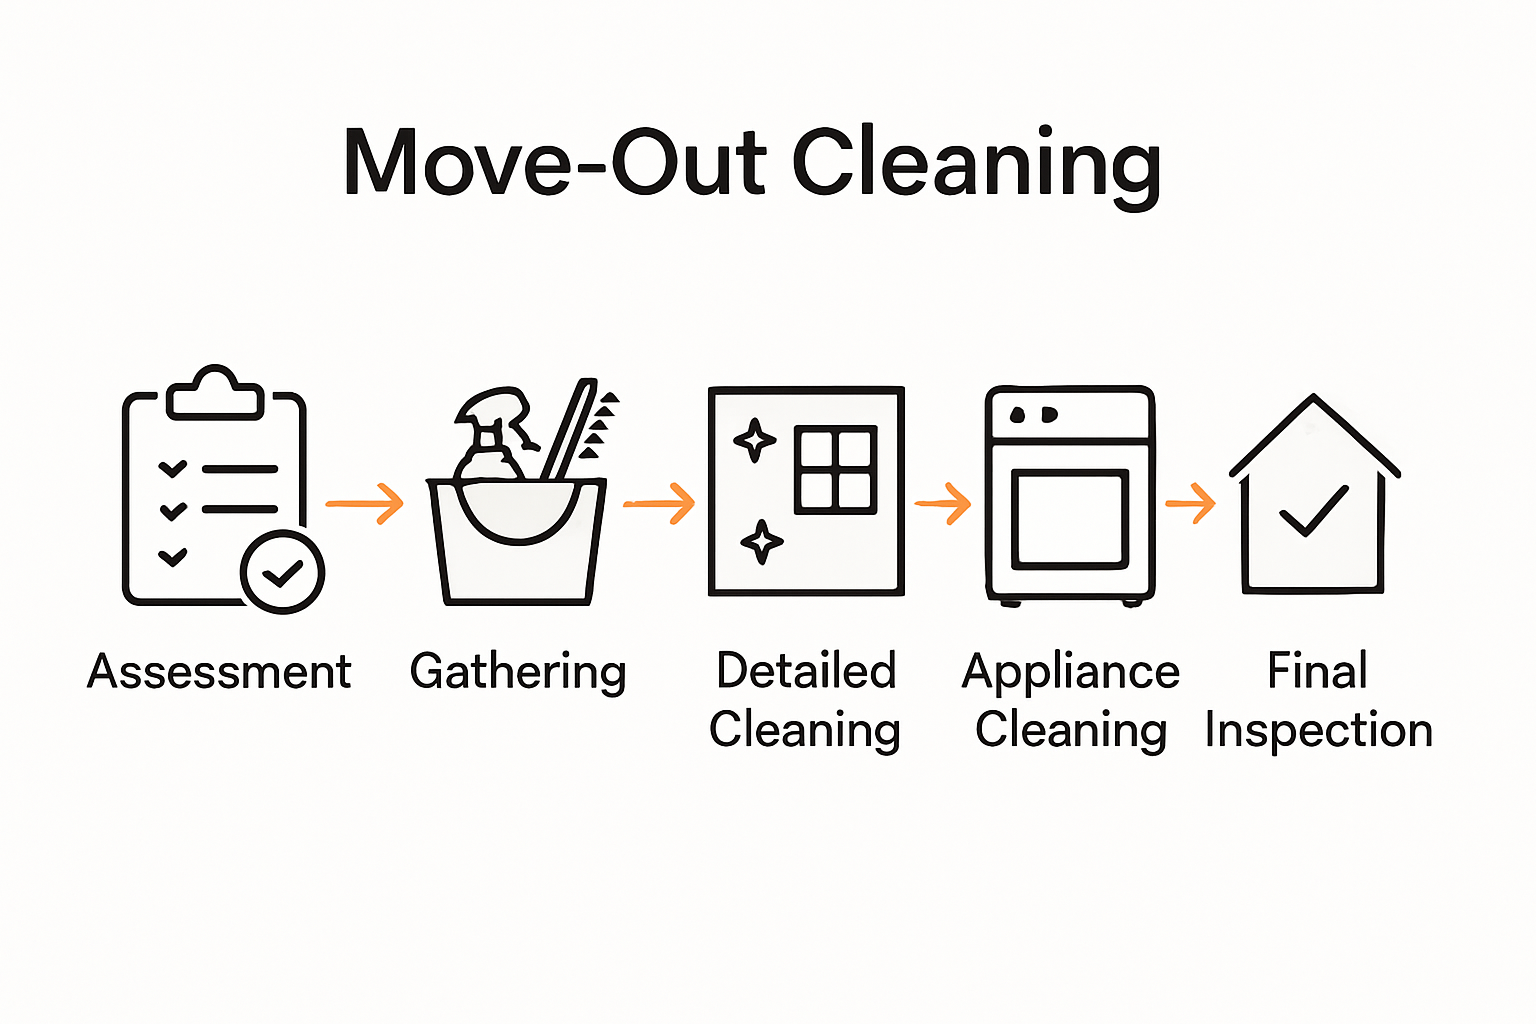
- Stage 1: Assess Property and Create a Cleaning Plan
- Stage 2: Gather Supplies and Prepare the Space
- Stage 3: Clean Room by Room with Attention to Detail
- Stage 4: Address Appliances and Fixtures Thoroughly
- Stage 5: Inspect Work and Rectify Missed Areas
- Stage 6: Dispose of Rubbish and Finalise Handover
Quick Summary
| Key Point | Explanation |
|---|---|
| 1. Conduct a thorough property assessment | Perform a detailed walkthrough to document the condition of each room, ensuring you identify all cleaning needs early on. |
| 2. Gather comprehensive cleaning supplies | Assemble a versatile cleaning kit containing all necessary tools while categorising them for easy access to streamline the cleaning process. |
| 3. Clean systematically room by room | Follow a top-to-bottom approach in each room, addressing details often overlooked, to ensure a thorough clean before the final inspection. |
| 4. Inspect meticulously after cleaning | Conduct a final inspection using natural light to identify any missed areas, demonstrating attention to detail before handover. |
| 5. Sort rubbish and finalise documentation | Organise rubbish for disposal, ensure properties are clean, and compile all necessary documentation for a smooth tenancy handover. |
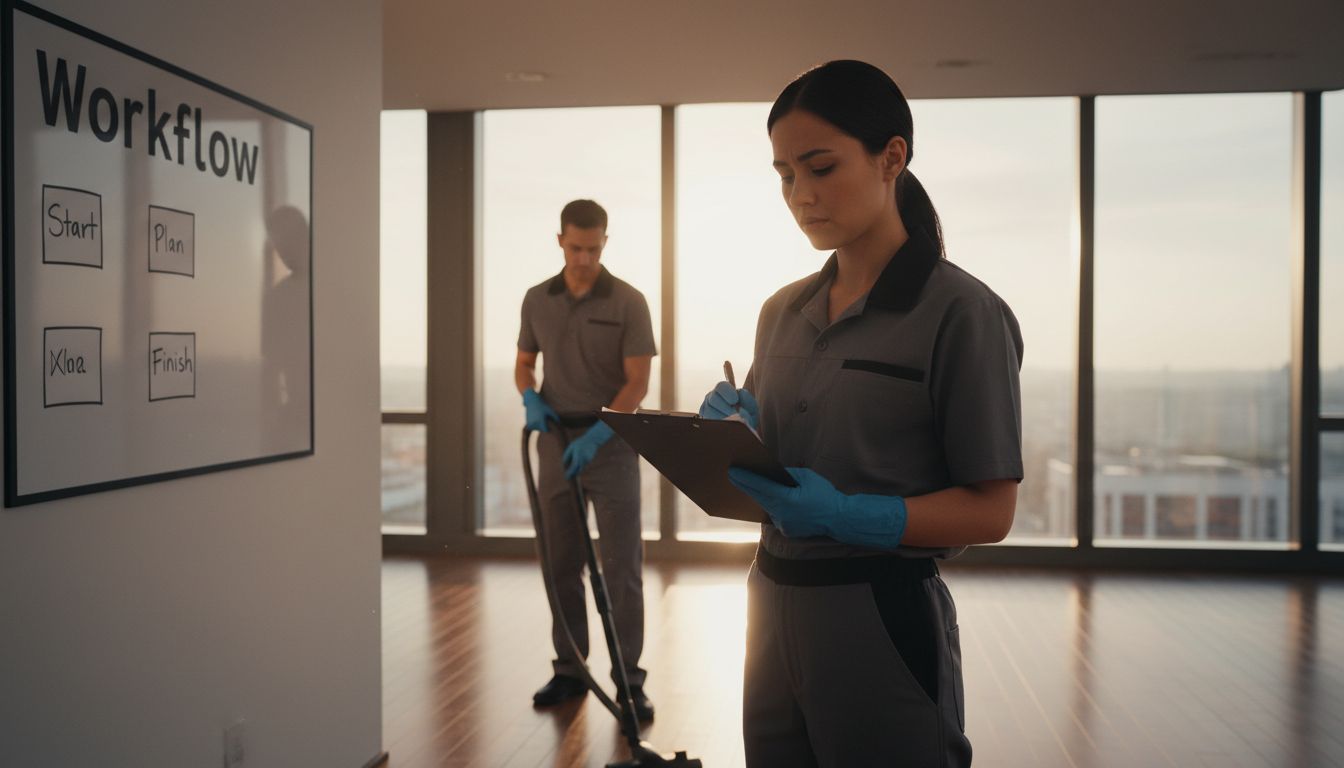
Stage 1: Assess Property and Create a Cleaning Plan
Your cleaning workflow begins with a strategic property assessment that transforms a potentially overwhelming task into a manageable process. By creating a structured cleaning plan tailored to end of tenancy requirements, you will systematically address every corner of the property and ensure nothing gets overlooked.
Start by conducting a thorough walkthrough of the entire property, documenting the current condition of each room. Use a detailed checklist to track specific areas needing attention, such as walls, floors, windows, fixtures, and appliances. This methodical approach allows you to identify potential challenges before starting the deep cleaning process. Pay special attention to high traffic zones, hidden trouble spots behind furniture, and areas prone to accumulating grime like kitchen splashbacks and bathroom grout. Create a room-by-room inventory that highlights specific cleaning requirements, noting any marks, stains, or wear that will need extra effort.
A helpful pro tip is to start your assessment with natural lighting and then repeat the inspection under artificial light. Different lighting conditions reveal different types of dirt and imperfections that might escape initial notice. By documenting everything meticulously, you create a comprehensive cleaning roadmap that ensures no area is left untouched. This preparation sets the stage for a systematic and thorough cleaning workflow that will help you achieve flawless results and potentially secure the full return of your tenant deposit.
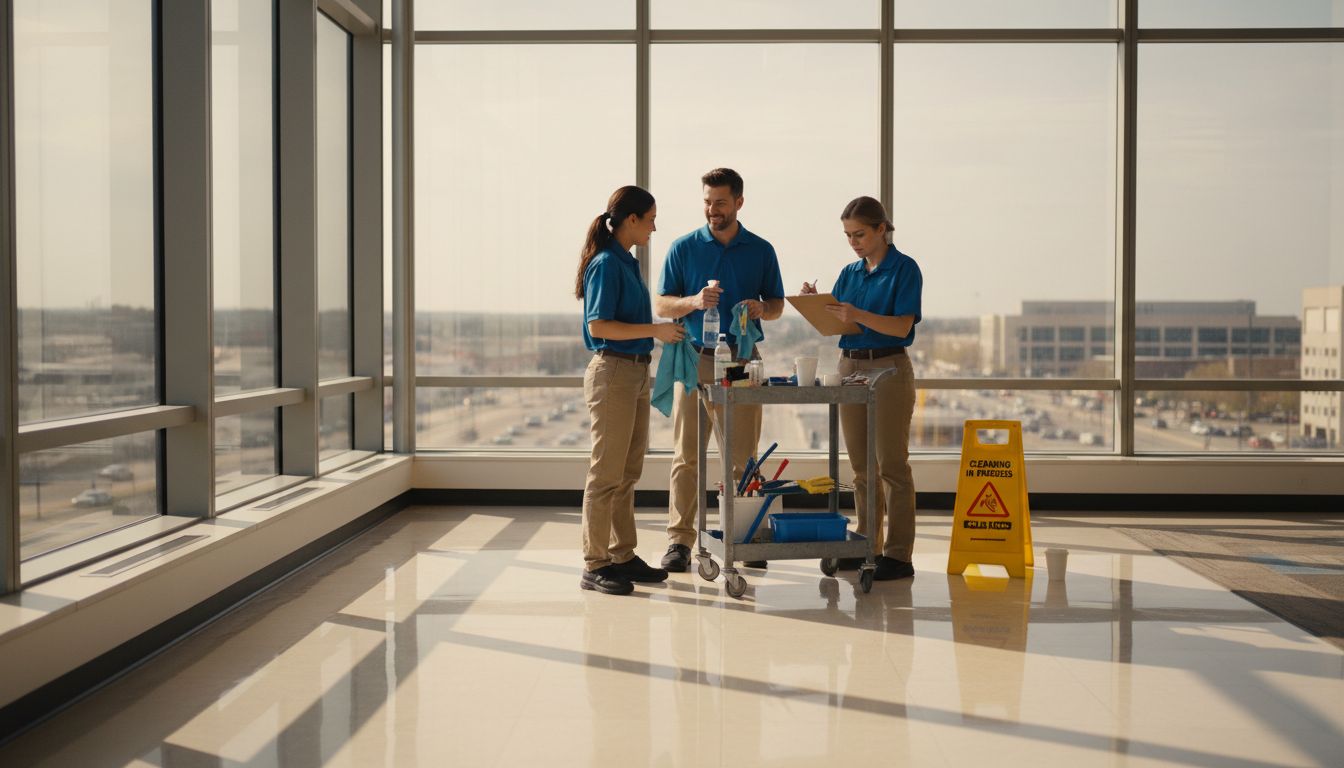
Stage 2: Gather Supplies and Prepare the Space
Successfully preparing for a thorough tenant move-out cleaning requires strategic supply gathering and smart space preparation. Your goal is to equip yourself with professional cleaning tools that streamline the entire process, ensuring efficiency and comprehensive coverage.
Assemble a comprehensive cleaning kit that includes essential supplies for different surfaces and areas. Based on detailed cleaning recommendations, your kit should contain microfibre cloths, all purpose cleaners, glass cleaners, disinfectant sprays, scrub brushes, sponges, rubber gloves, rubbish bags, a mop, a bucket, and extendable dusting tools. Prioritise multipurpose products that can tackle various surfaces to minimise the number of specialised cleaning agents you need to carry. Separate your cleaning supplies into categories for different zones bathroom, kitchen, living areas to help you work systematically and prevent cross-contamination.
Before diving into cleaning, prepare the space by removing all personal items, furniture, and obstacles that might impede your progress. Create clear pathways and ensure good ventilation by opening windows. This preparation allows you to move freely and access every surface efficiently. A pro tip is to work from top to bottom in each room, starting with ceiling corners and light fixtures, then moving to walls, surfaces, and finally floors. This methodical approach prevents re-soiling cleaned areas and ensures a comprehensive, professional-standard cleaning result.
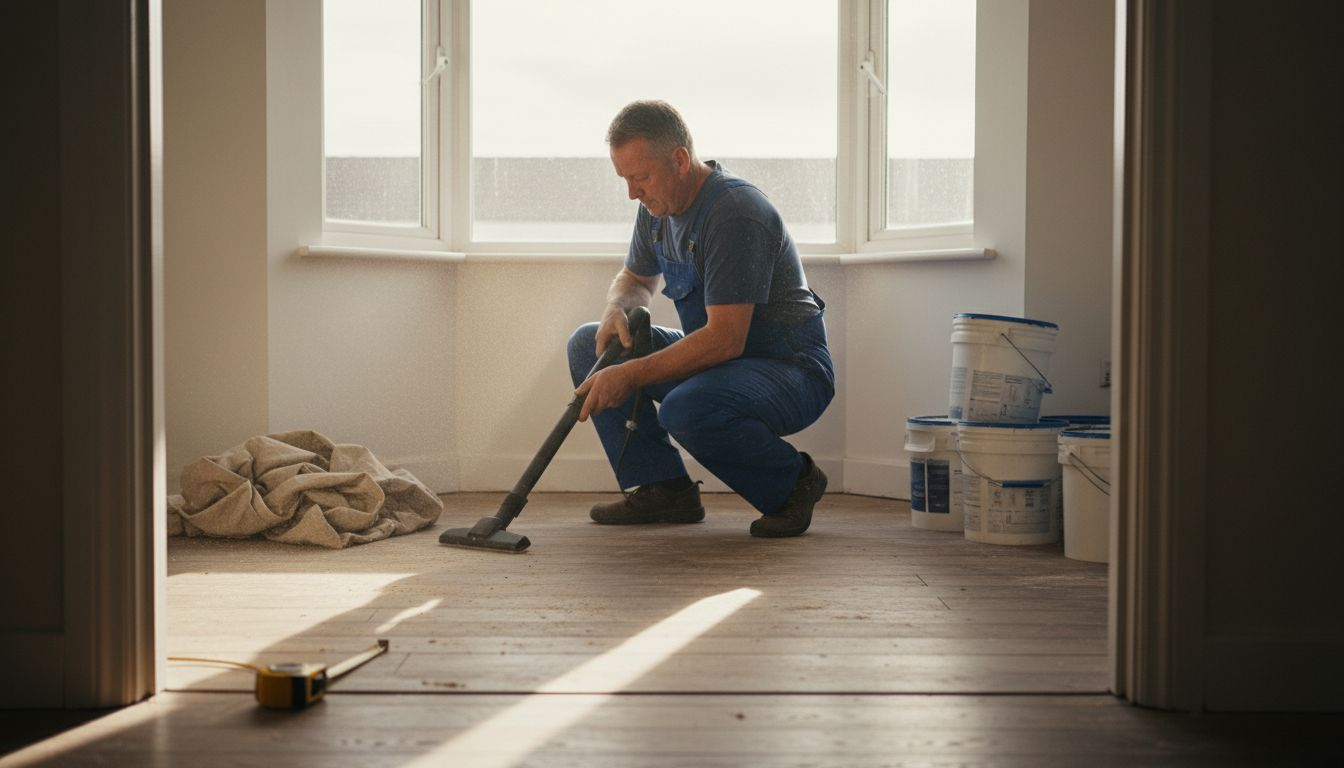
Stage 3: Clean Room by Room with Attention to Detail
Cleaning a property room by room requires a systematic approach that ensures no surface is left untouched. Your mission is to transform each space methodically, addressing hidden cleaning challenges that often escape casual inspection, creating a spotless environment that meets the highest move-out standards.
Begin with a strategic room-by-room cleaning workflow that prioritises thorough attention to detail. Start with less frequently used spaces like spare rooms or storage areas, then progress to high traffic zones such as kitchens and living areas. In each room, work from top to bottom cleaning ceiling corners, light fixtures, walls, windows, surfaces, and finally floors. Pay special attention to overlooked areas like skirting boards, window frames, behind appliances, and inside cupboards where dust and grime accumulate. Use appropriate cleaning products for different surfaces and always test cleaning solutions in an inconspicuous area first to prevent potential damage.
Maintain a consistent cleaning rhythm that prevents cross-contamination by using separate cloths for different areas and changing cleaning water frequently. A pro tip is to use colour coded microfibre cloths for specific zones bathroom, kitchen, living spaces to ensure hygienic practices. Your methodical approach will not only achieve a comprehensive clean but also demonstrate the care and respect you have for the property, increasing the likelihood of securing your full tenant deposit refund.
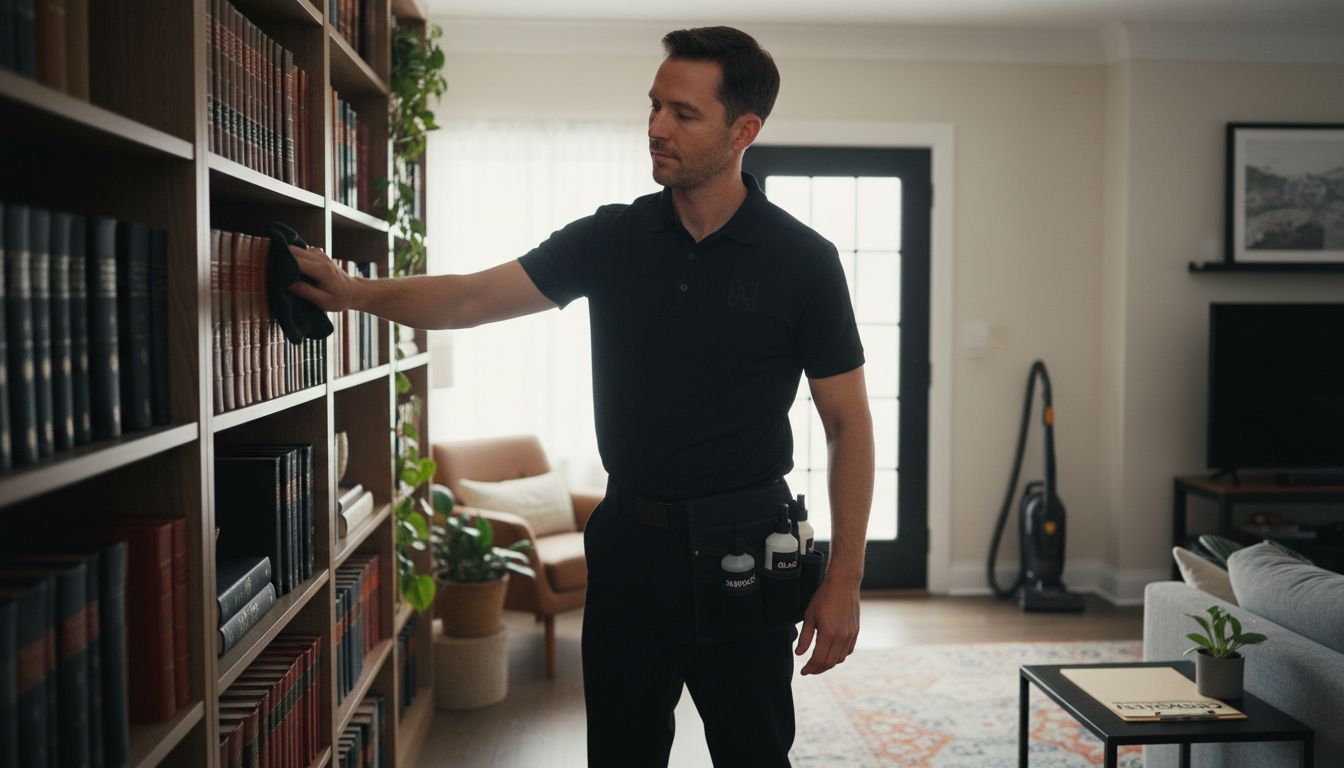
Stage 4: Address Appliances and Fixtures Thoroughly
Cleaning appliances and fixtures requires meticulous attention to detail and specialised techniques that go beyond surface-level maintenance. Your objective is to restore each appliance and fixture to its original pristine condition, ensuring they function perfectly and look immaculate for the next occupants.
Start with kitchen appliances, which typically accumulate the most stubborn grime and grease. Remove all shelves and drawers from refrigerators, ovens, and microwaves, cleaning them separately with appropriate detergents. Pay special attention to hidden areas like rubber seals, hinges, and interior corners where food residue and mould can develop. For stainless steel surfaces, use specific stainless steel cleaners to prevent streaking and maintain the original shine. Dishwashers require descaling and internal cleaning to remove limescale and food particle buildup, while washing machines need thorough drum and seal inspections.
Bathroom and utility fixtures demand equally rigorous treatment. Descale taps, showerheads, and toilet bases using specialised lime removal products. Grout lines and small crevices around fixtures often harbour hidden dirt and require targeted cleaning with soft brushes and precise cleaning solutions. A professional tip is to use white vinegar for removing hard water stains and maintaining chrome fixtures. Your comprehensive approach demonstrates respect for the property and significantly increases the likelihood of securing a full deposit refund.
Stage 5: Inspect Work and Rectify Missed Areas
A final comprehensive inspection transforms a good cleaning job into an exceptional one, ensuring no detail escapes your scrutiny. Your mission is to uncover and address those subtle cleaning challenges that might compromise your deposit return, making your property inspection ready.
Begin your systematic inspection by changing your perspective and lighting conditions. Natural daylight reveals dust and streaks invisible under artificial lighting, so open curtains and blinds completely. Walk through each room methodically starting from the entrance, viewing surfaces from different angles and heights. Check skirting boards, window frames, light switches, door handles and other often overlooked surfaces. Look behind furniture, inside cupboards, and in corner spaces where dust and grime accumulate. Use a clean white cloth to test surfaces this will immediately highlight any remaining dirt or smudges that require additional attention.
Pay special attention to transition areas between rooms and surfaces where different materials meet. Corners, edges and joints are notorious for collecting dust and showing signs of wear. A professional tip is to use a combination of natural light, bright task lighting, and even a handheld torch to illuminate these tricky zones. Your meticulous approach demonstrates not just cleaning skill but respect for the property and increases the probability of securing your full deposit refund. By treating this final inspection as an opportunity for perfection rather than a chore, you transform a standard move out clean into an exemplary property presentation.
Stage 6: Dispose of Rubbish and Finalise Handover
The final stage of your move out process involves strategic rubbish disposal and meticulous property handover preparation. Your goal is to complete the tenancy transition with professional precision and thoroughness, ensuring a smooth and respectful property handover.
Sort your rubbish systematically into recyclable, general waste, and special disposal categories. Remove all personal waste from the property and ensure bins are emptied completely. Check local council guidelines for appropriate disposal methods for different materials like electronics, batteries, and large items. If possible, leave bins clean and presentable for the next occupants. Gather all property documents including keys, parking permits, and any maintenance records. Prepare a detailed inventory highlighting the property condition and documenting the cleaning work completed.
A professional tip is to take timestamped photographs of the cleaned property as final evidence of your thorough preparation. This documentation can be crucial if any disputes arise regarding the property condition. Ensure all utility metres are read and final bills are arranged for transfer. Your methodical approach demonstrates respect for the property and increases the likelihood of securing a full deposit return, transforming a potentially stressful process into a smooth and professional transition.
Ensure Flawless Tenant Move-Out Cleaning with Expert Support
Moving out demands a meticulous, room-by-room cleaning process to secure your full deposit refund and leave the property in impeccable condition. If you find yourself overwhelmed by the detailed workflow involving appliance care, grime removal, and final inspections, you are not alone. Many face challenges in crafting a tailored cleaning plan that addresses every overlooked corner, managing supplies efficiently, and performing a thorough deep clean that meets tenancy standards.
At HARC Solutions, we understand the pain points of tenant move-out cleaning and offer professional services designed to take this burden off your shoulders. Our trained and insured staff specialise in comprehensive pre/post tenancy cleaning that covers all those hidden dirt hotspots and tough fixture treatments detailed in your workflow. With our satisfaction guarantee and trusted local reputation, you can have peace of mind that your property will be returned to pristine condition swiftly and reliably.
Take the stress out of your tenancy transition today
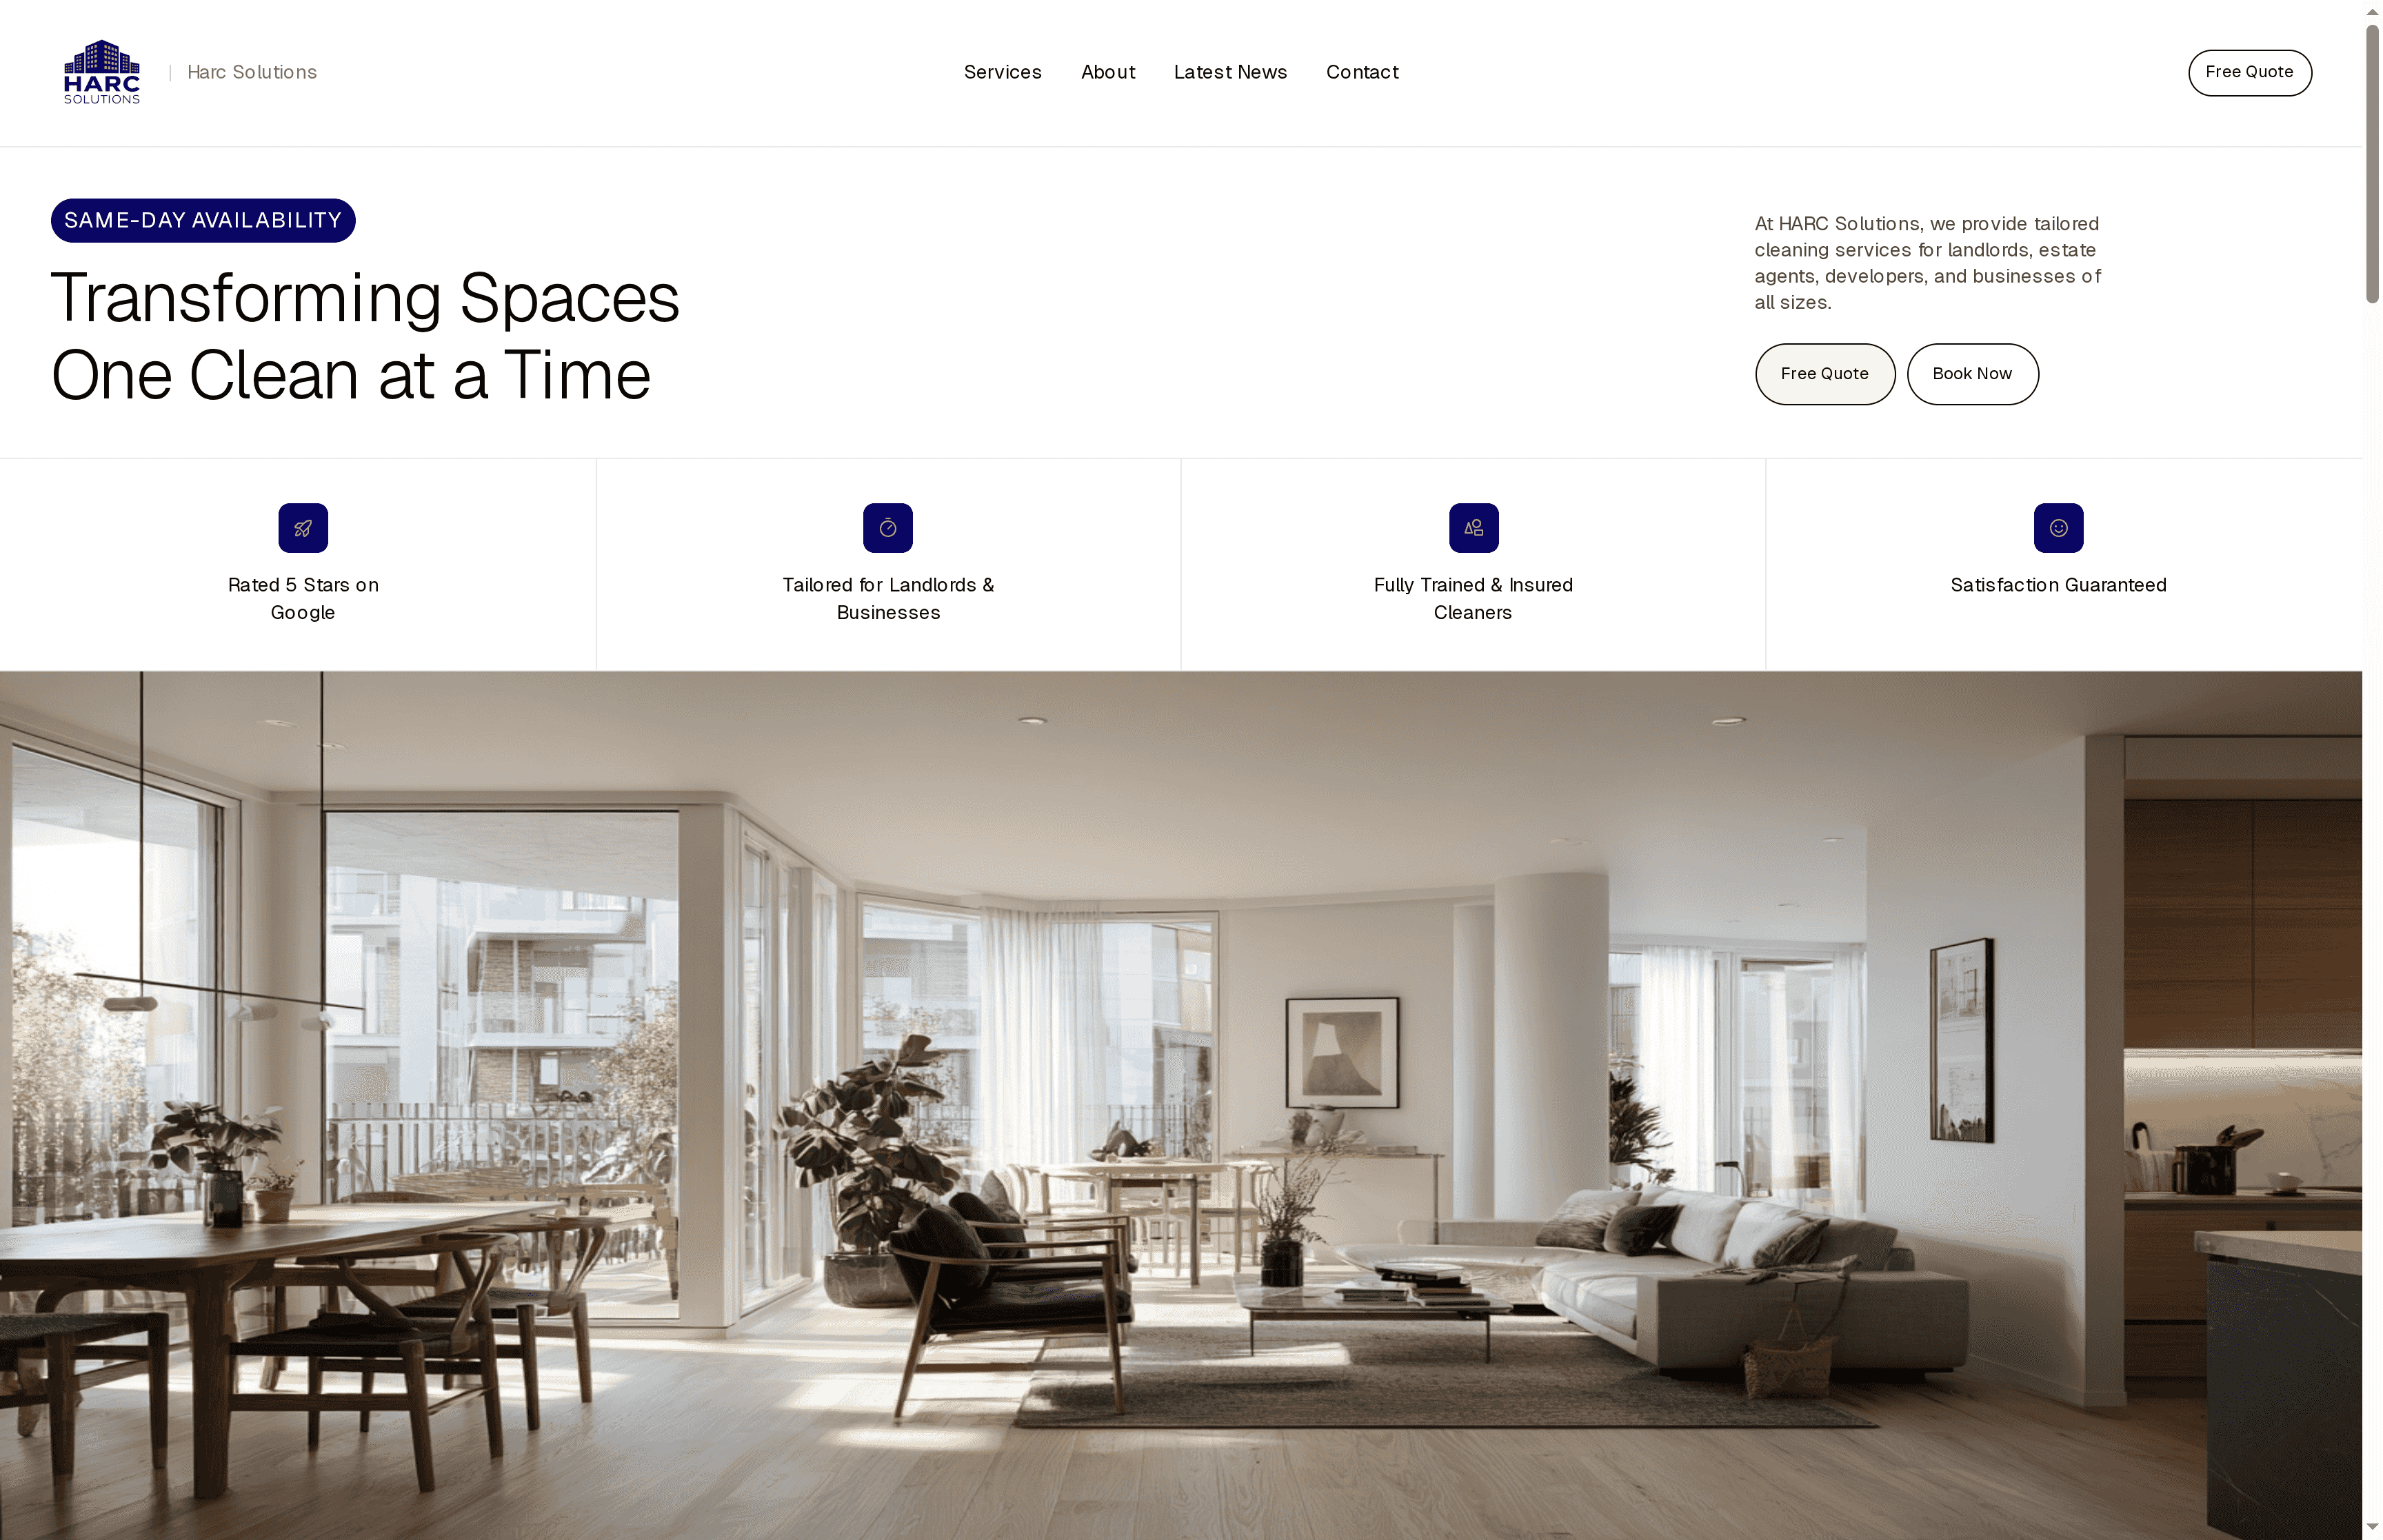
Book your expert cleaning service now with HARC Solutions and experience a smooth, professional move-out that safeguards your deposit and impresses landlords. Don’t wait until the last minute – secure your bespoke cleaning plan and let us handle every detail with care and precision.
Frequently Asked Questions
What are the first steps in a tenant move-out cleaning workflow?
Begin with a thorough property assessment to identify areas needing attention. Conduct a detailed walkthrough and create a cleaning plan, noting specific cleaning requirements for each room. This will ensure every corner is addressed systematically.
How do I gather the necessary supplies for a move-out cleaning?
Assemble a comprehensive cleaning kit including microfibre cloths, all-purpose cleaners, and other essential tools. Categorise your supplies based on the different areas of the property to streamline your cleaning process and prevent cross-contamination.
What is the best method to ensure I don’t miss cleaning any areas?
Adopt a room-by-room cleaning approach, starting with less frequently used spaces and moving towards high-traffic areas. Use a detailed checklist for each room, focusing on overlooked spots like skirting boards and behind appliances to ensure nothing is missed.
How can I ensure appliances and fixtures are thoroughly cleaned?
Focus on each appliance and fixture, removing all detachable parts for separate cleaning. Pay attention to hidden areas where grime accumulates, such as rubber seals and interior corners, using appropriate cleaning products for each surface to restore them to pristine condition.
What should I do after cleaning to prepare for the property handover?
Systematically dispose of rubbish, ensuring personal waste is removed and bins are left presentable. Document the property’s condition and cleaning work completed through an inventory and timestamped photographs, which can serve as important evidence if disputes arise later.
How can I maximise the likelihood of securing my full tenant deposit back?
Conduct a final comprehensive inspection, checking every room from different angles and lighting conditions. Address any missed areas before the handover, demonstrating your respect for the property, which significantly boosts your chances of receiving your full deposit refund.